This is an old revision of the document!
Table of Contents
Using SyncBack
What is SyncBack?
SyncBack is one of the many backup programs available for Microsoft Windows.
You can use the SyncBack family of products to backup, synchronize, and restore data files.
The SyncBackFree version should be enough for easily mirroring directories, or groups of directories to an external disk, but you can compare the features available in SyncBackPro, SyncBackSE and SyncBackFree: summary comparison and full comparison. You can always upgrade later, when you receive a coupon for buying SyncBackSE (or Pro).
Installing SyncBack
- Install SyncBackFree. At the end of the installation process, you may want to subscribe to the mailing list (you will receive from time to time codes to upgrade to another version of Syncback at a reduced price)
Basic configuration
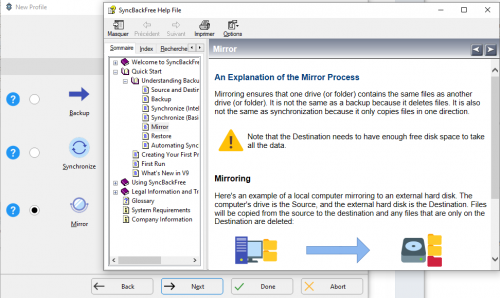
We want to do a mirroring backup:
- Copy all the files from the source folder to the destination folder. All the files are copied on the first run, and only the new/changed files are copied on subsequent runs. The subsequent mirror operations are then significantly faster, which should motivate you to make frequent backups
- Warning! if a file is not on the source anymore, mirroring will automatically remove it from the destination! The idea is that the destination should be an exact copy of the source! This also means that if you delete a file by mistake, you have to retrieve it from the backup before the next mirror operation removes the file from the mirror! If that's not what you want, check the backup (rather than mirror) options.
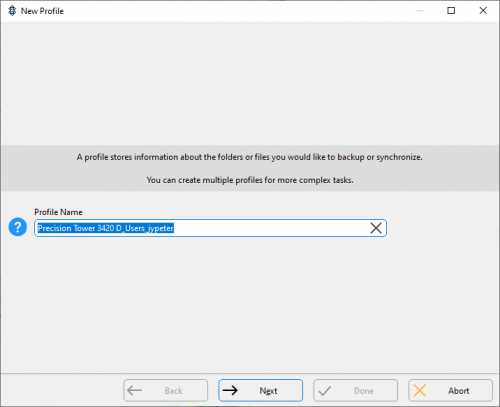
Do not be frightened by the step by step configuration and the screenshots below! There are lots of available options in the SyncBack point-and-click interface, and it is easier to use images to explain what needs to be done
- Connect a USB disk/stick with enough free space to your computer
- You should create a clean directory hierarchy on the backup disk, matching the folders that you intend to backup
- In this example, we are going to mirror the content of
D:\Users\jypeter
toF:\Backup_JYP\Dell_Precision_3420\D_Users_jypeter
- Launch SyncBackFree. You can find it in
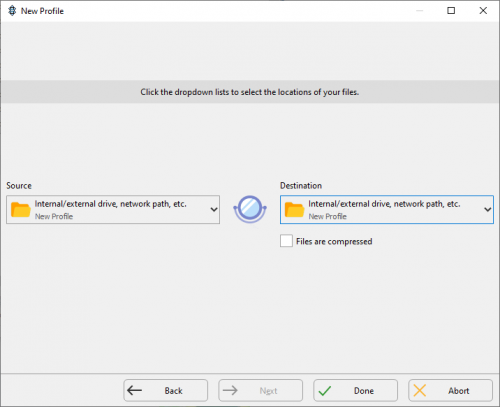
Start→2BrighSparks→SyncBackFree - A new window Profile Setup window opens, where you can specify the Source and the Destination folders. In this example, we use Source =
D:\Users\jypeter
and Destination =F:\Backup_JYP\Dell_Precision_3420\D_Users_jypeter. Once you have filled both fields, a summary of what will be done is displayed in the Description of this profile section. Click on Change Filter for a more precise control of what will be saved (this is optional, and you can do it later!), or on OK when you are done
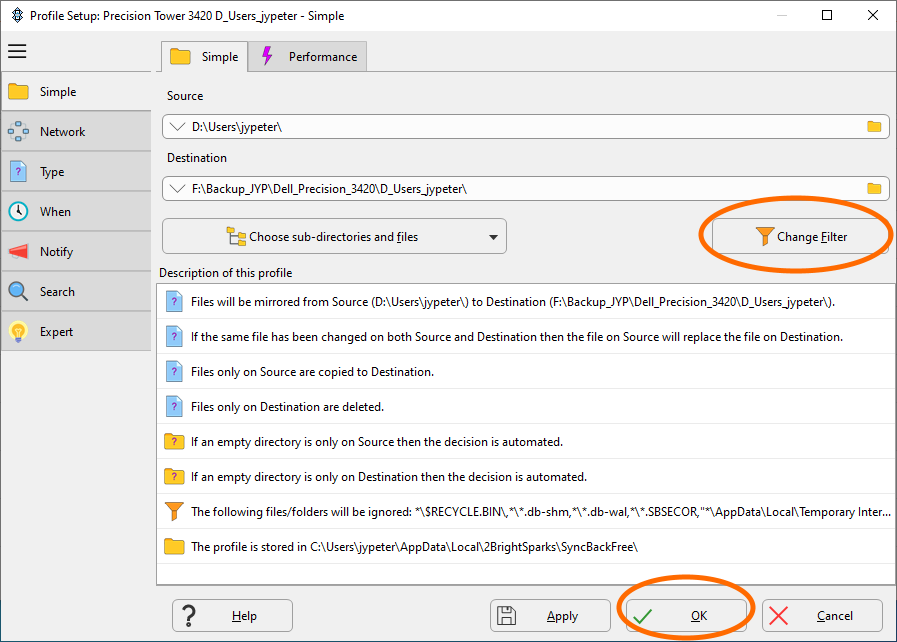
- If you choose to review and update the filters, with the Change filter button, you will get two new windows: the File & Folder selection window that you can ignore, and the Filters window
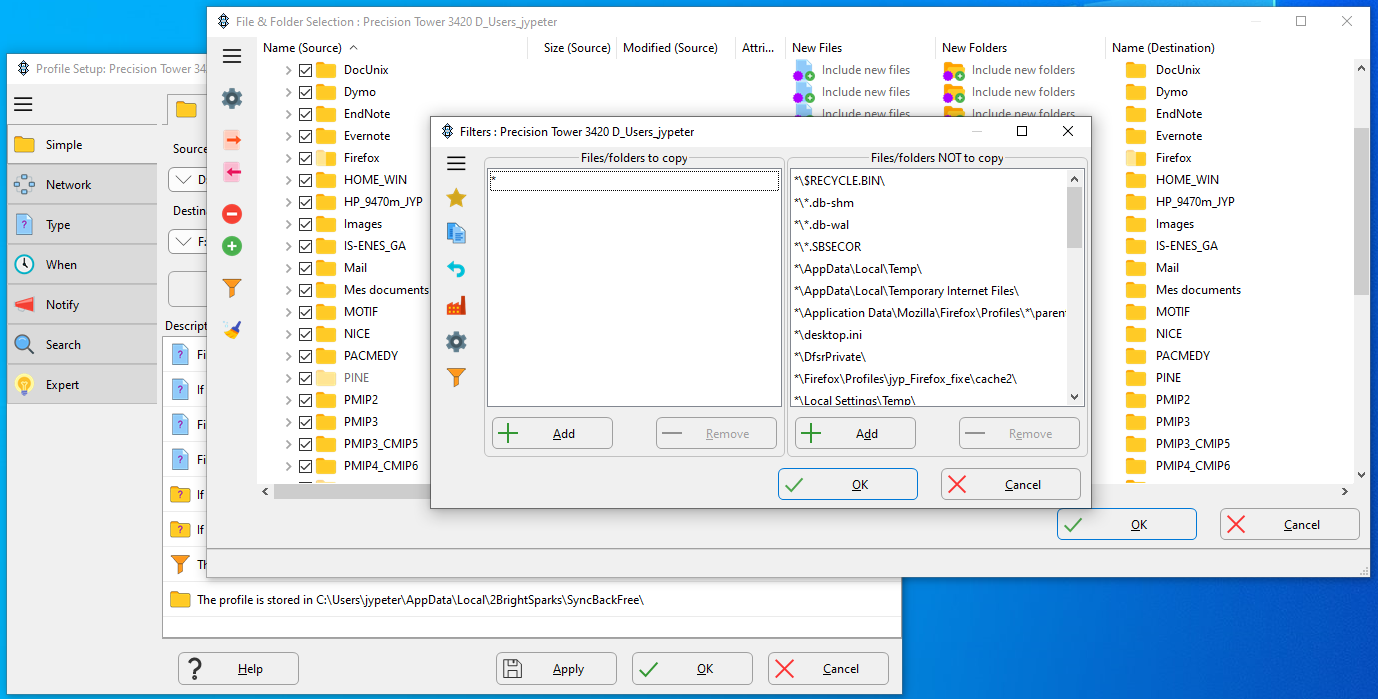
You can use the Add button below the Files/folders NOT to copy window to add new rules to the list of files/folders that should be ignored by SyncBack. Check the Filters section for more details about the filters

- When you have finished adjusting the filters, or if you have directly clicked on OK after specifying the Source and the Destination folders, you will get a popup window asking if you want to do a simulated run. You can skip this step, as it will be automatically done by default each time you execute this profile

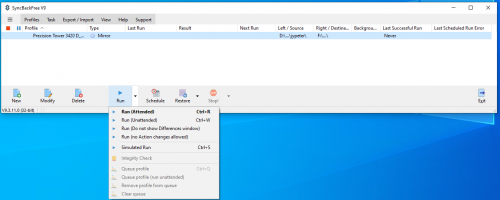
- You are now ready to execute the backup profile! You can either click on the main Run button to launch an attended run, or use the other available options
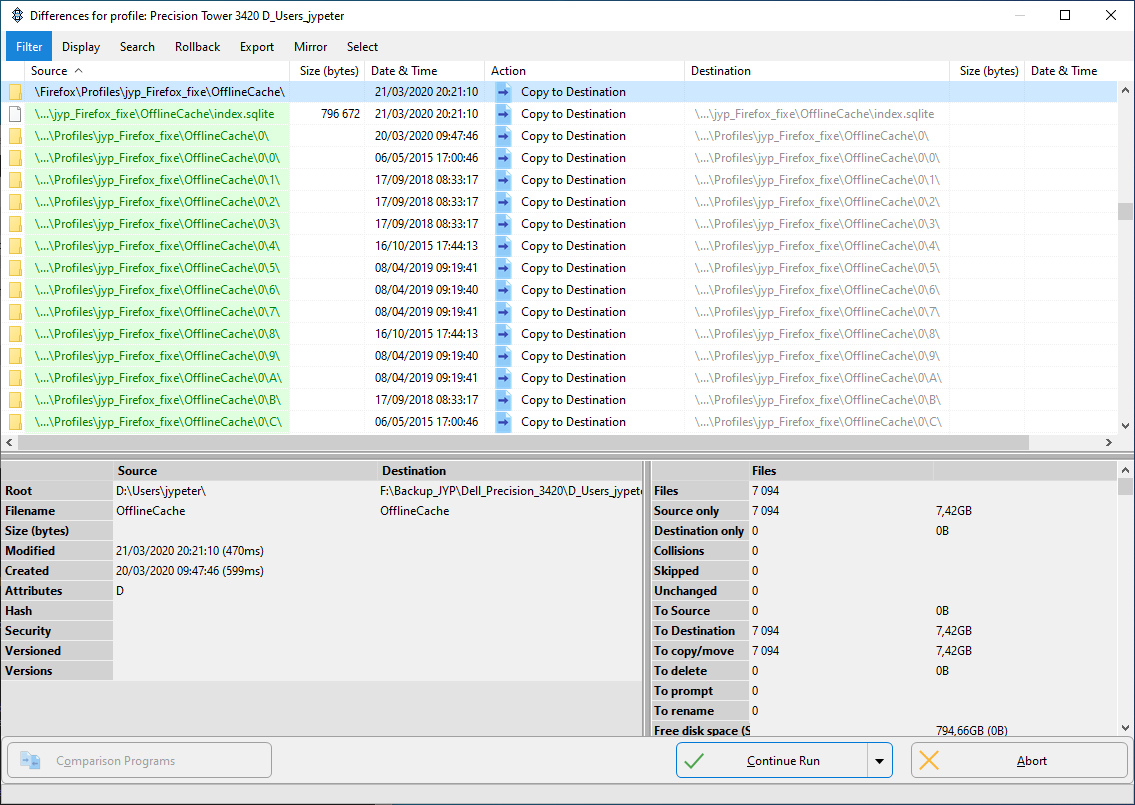
The Attended Run (and the Simulated Run) will display a window with the list of planned backup operations. You should check carefully the content of the Differences window when executing a profile the first few times, especially the files/folders outlined in red in the right part (the files that will be overwritten or removed). If you see lots of files with random names (screenshot below), they are probably in a cache directory that you can remove from the backup by using a filter.
As you can see in the bottom right part of the screenshot below, there are lots of files (7k) to copy because it's a first run, with no expected Collisions (when a file in Source is more recent than the matching one in Destination), or files To Delete (when a file in Source has been removed, and the matching one in Destination will be deleted). The next runs will be faster (less files to copy), but you may want to keep an eye to the files to be deleted…
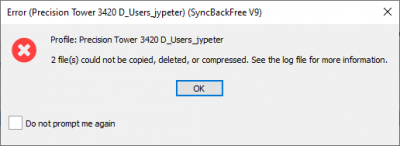
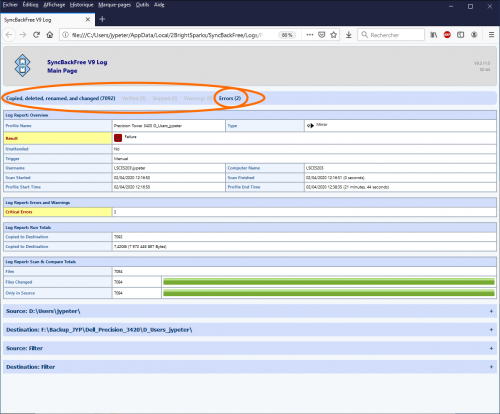
- After executing the profile, you will get a popup window (that you can disable after a few runs) telling you if there were some problems (e.g. a file was locked by the system), and then a summary log will open in your browser. You can click on the Errors link, or the other links to get details about what happened.
Using Filters
It can be useful to use some filters to disable some of what SyncBack would try to backup otherwise:
- Not backing up useless files/directories (e.g temporary files in cache directories) will make SyncBack run faster (and save space on the backup device)
- Some files/directories can't be backed up because their access is protected by the system (possibly because they are still open) and will generate errors in the log file. Skipping them will make it easier to spot real errors
- In order to make a correct backup of everything, it is always better to close the running applications before starting the backup
Notes:
- A filter must start with
\string(stringwill be searched in the root of the source directory) or*\string(there can be subdirectories between the source directory andstring) - A folder name must have a trailing slash
- To modify an existing filter double-click it
Suggested filters when backing up your Home folder
Home folder means here ANOTHER_DISK_THAN_C:\Users\your_login, assuming that you have followed the instructions in Configuring folders to create a Home folder distinct from your default Windows home folder on C:\
Note: we assume in the filters below that the Thunderbird and Firefox profiles were moved from their default location, to the Home folder
- Remove Thunderbird and Firefox lock file:
*\parent.lock - Try to remove all the obvious cache folders:
*\Cache\,*\cache2\- The filter rules above will remove cache folders like:
*\Firefox\Profiles\jyp_Firefox_fixe\cache2\,
*\Thunderbird\Profiles\jyp_Thunderbird_fixe\Cache\,
*\Thunderbird\Profiles\jyp_Thunderbird_fixe\cache2\
Suggested filters when backing up your Windows folder
Default Windows folder: C:\Users\your_login
- Remove WSL+Linux from backup:
*\AppData\Local\Packages\Canonical*Ubuntu*\ - Remove the backup of all the settings saved in AppData\Local\Packages:
*\AppData\Local\Packages\ - Try to remove all the cache files:
*cache*\
This should take care of cache folders like:*\AppData\Local\Google\Chrome\User Data\Default\*Cache\
- Remove some Microsoft apps related directories:
*\AppData\Local\Microsoft*\ - Remove some apps directories that use too much space:
*\AppData\Local\WebEx\,*\AppData\Local\GoToMeeting\ - Remove Windows links to Recent Files:
*\AppData\Roaming\Microsoft\Windows\Recent\ - Remove misc. files:
*\ntuser*,*\NTUSER*,*\AppData\Local\Google\Chrome\User Data\Default\Current* - Remove misc. directories:
*\AppData\Local\Comms\,*\AppData\Roaming\Adobe\
[ PMIP3 Wiki Home ] - [ Help! ] - [ Wiki syntax ]


